


Solar panel supports can be classified into three major categories: ground supports, roof supports, and floating supports. Solar power refers to the form of power generation that converts solar energy into electricity. Among them, floating solar mounting brackets serve as the support for solar panels, including the form of pile driving and the form of floating. The floating solar supports made of high-density polyethylene can resist corrosion, aging, wind waves and current impacts, withstand temperature differences, have good sealing performance, are pollution-free, and can be recycled.water surface solar panel brackets usually can be used water depth above 0.5meter.And the whole solar panel array shall be matched with anchoring system.The anchoring rope can be adjusted when water level varies.

Main Equipment Schematic
|
Item no. |
Part name |
picture |
Item no. |
Part name |
picture |
|
1 |
Walkway floater |
|
7 |
Rear supporting leg |
|
|
2 |
Equipment floater |
|
8 |
Solar panel clamp |
|
|
3 |
Connecting floater |
|
9 |
Bolts and nuts |
|
|
4 |
Connecting rod |
|
10 |
North-south anchor truss |
|
|
5 |
Connecting piece |
|
11 |
East west anchor truss |
|
|
6 |
Front supporting leg |
|

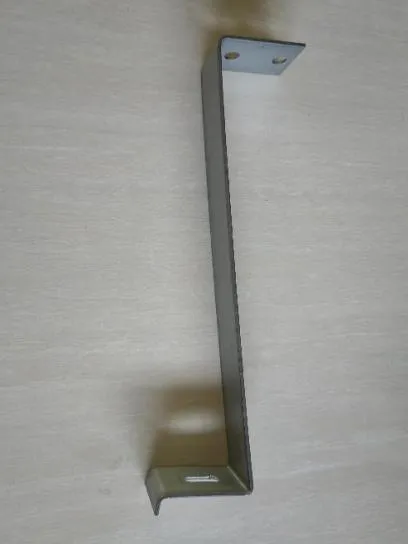

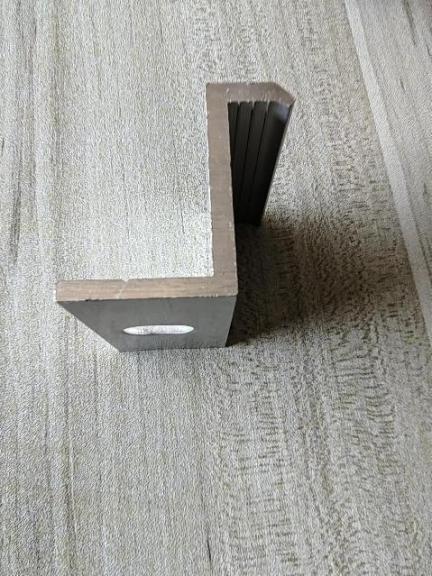


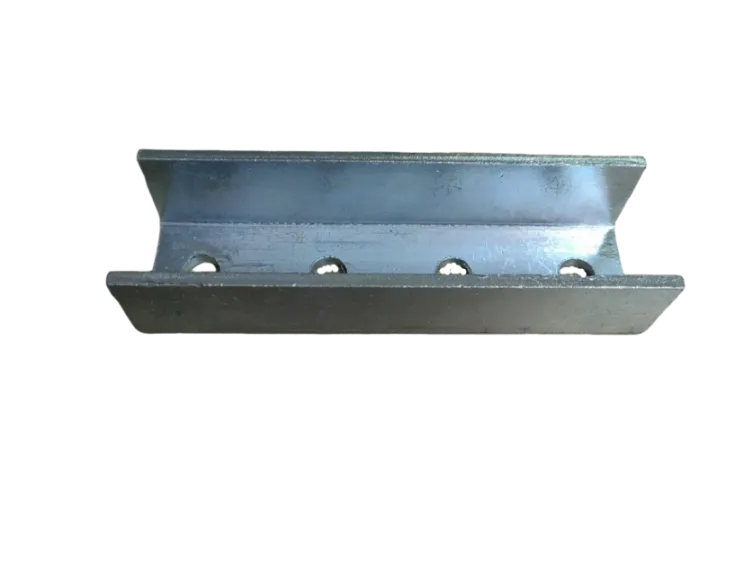


Floating body assembly
(1) According to the design drawings, the operator shall pay attention to distinguish the various types of floating bodies and installation positions, shall not mix, and shall not change the system layout without permission.
(2) The floating body assembly square on the shore matches the area of the shore site and the water environment, and should not be too large to avoid the difficulty of traction splicing into the water. The size of the array depends on the actual deployment on site.
(3) According to the drawings, the floating walkway should be arranged in rows on the bank according to the orientation of the square array splicing after entering the water (the project implementation shall be subject to the actual situation). The floating walkway in the same row should be connected with bolts and nuts and firmly fastened.
(4) Connecting rod is used between adjacent walkway floats. The connecting rod is positioned and installed with the floating body according to the drawing (draw a positioning line on the connecting rod to determine the relative position of the floating body and the connecting rod, ensure that the connecting hole is corresponding, and the offset is within the adjustable range). Connecting rod and connecting rod are connected by connecting parts and bolted firmly. Sequentially splicing to a small square to complete.
(5) The connecting floating body is arranged at the corner and end position to connect the floating body of the aisle and the floating body of the equipment, and the bolt connection is firmly fastened.
(6) The floating body of the east and west sides and the intermediate equipment shall be connected and fixed by connecting rod, and the connecting rod installation position shall be consistent with that on the floating body of the corridor.
(7) The east and west side anchorage bracket shall be installed in the corresponding position according to the drawing and bolted and fixed.
(8) After the floating array is assembled, check whether there are any omissions, prepare the next process, and install the components.
Square array into the water assembly
(1) The orientation of the square array into the water can be based on the actual situation of the square array and the site, and the deployment can be comprehensively considered. After the assembly of the floating body small square array, it can gradually slide into the water from the slope of the bank.
(2) When entering the water on the slope or the edge of the slope, the two sides of the phalanx need to use ropes for temporary fixing to prevent accidental automatic paddling into the water; The part that has entered the water is temporarily fixed with ropes to prevent it from drifting by the wind.
(3) When the phalanx enters the water as a whole, deploy ships at each corner to pull the phalanx until the planned position, and use temporary anchoring system to temporarily fix it to prevent the phalanx from drifting on the water and colliding with the shore.
(4) When the two square arrays are spliced, the east-west splicing and north-south splicing are divided, and the deployment and construction are optimized according to the actual situation of the project. For the system structure that can be selected, the east-west water splicing is preferred.
(5) When splicing in the east-west direction, pull the subsequent square array
to the corresponding position, and directly use bolts to fasten the connection between the floating body and the floating body.
(6) When splicing in the north-south direction, pull the subsequent square array to the corresponding position. In the middle position of the two square arrays, a row of aisle floats need to be removed to ensure the smooth splicing of the two square arrays. Therefore, the row of walkway floats that need to be removed does not need to be completely fastened, but only temporarily fixed.
(7) The third square, the fourth square... Connect and fix all squares one after
another, and install the anchoring system in time until all squares are installed.
(8) All floating squares that have entered the water must be temporarily and
effectively anchored using anchor ropes to prevent drifting from touching the shore or other unexpected circumstances leading to loss.
(9) Finally, comprehensively check the phalanx system for abnormal conditions to ensure the overall safety, stability, unity and beauty.

Strategic Partners with Foner Solar
120 customers from more than 10 countries in the past 3 years.





Hot Tags: Reservoir floating solar,Water treatment plant solar,floating solar system,Floating PV supplier,floating PV pontoon, floating solar panels on reservoirs, Floating Solar Platform, floating solar pontoon, floating solar panels mounting, Floating Solar Photovoltaics, Underwater Solar